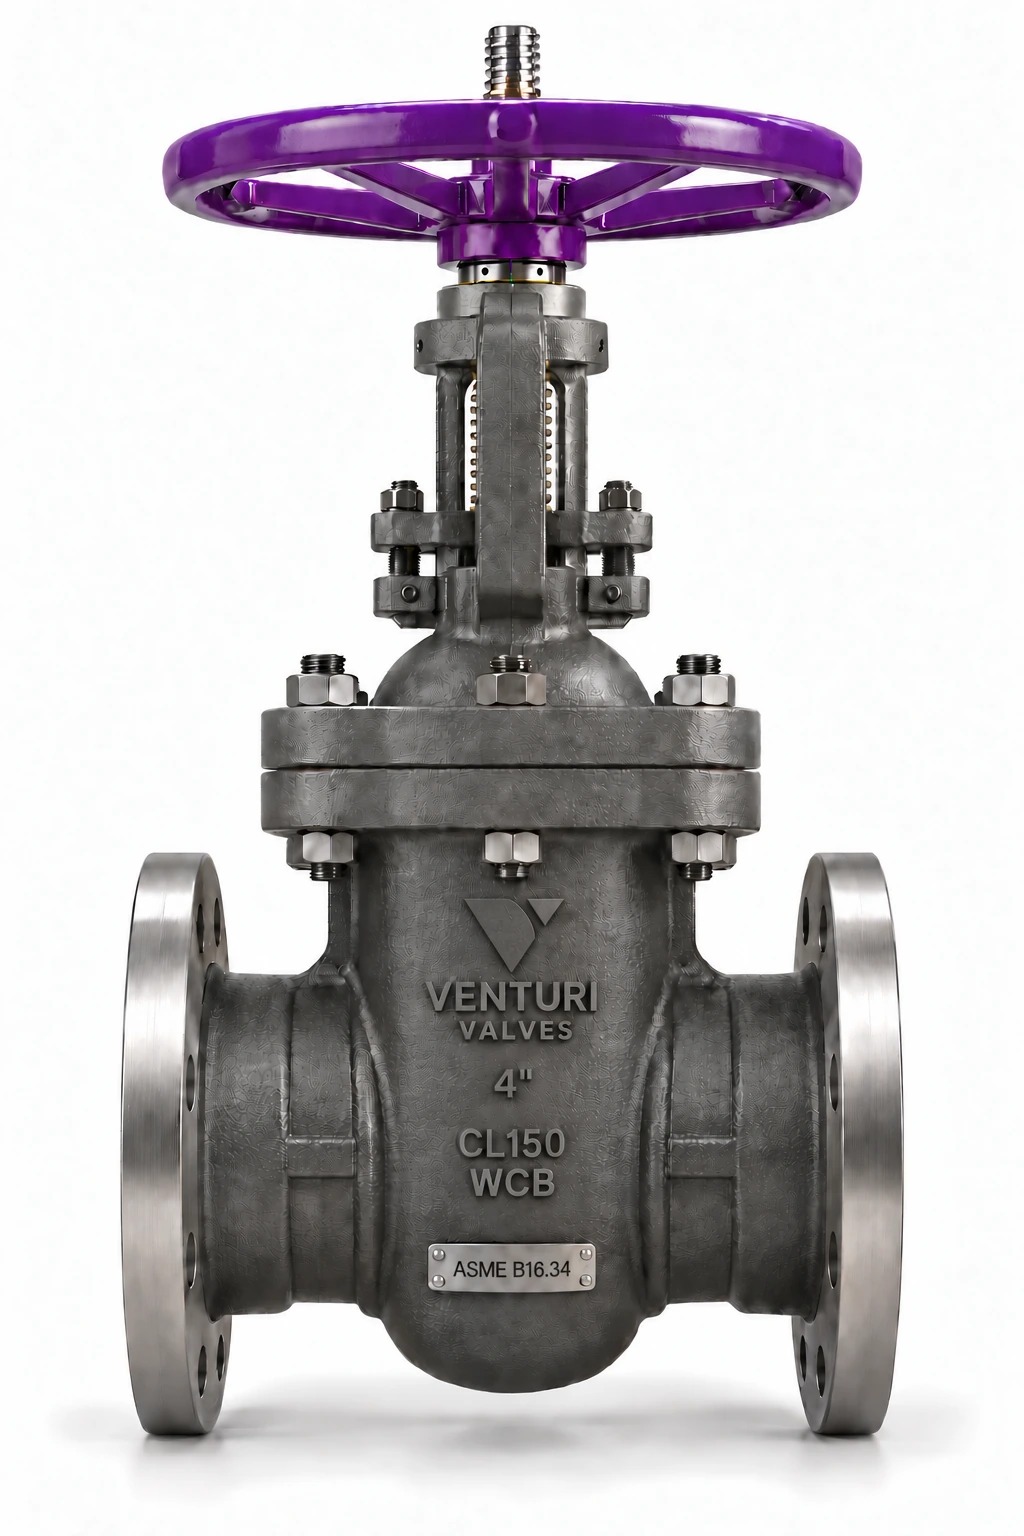
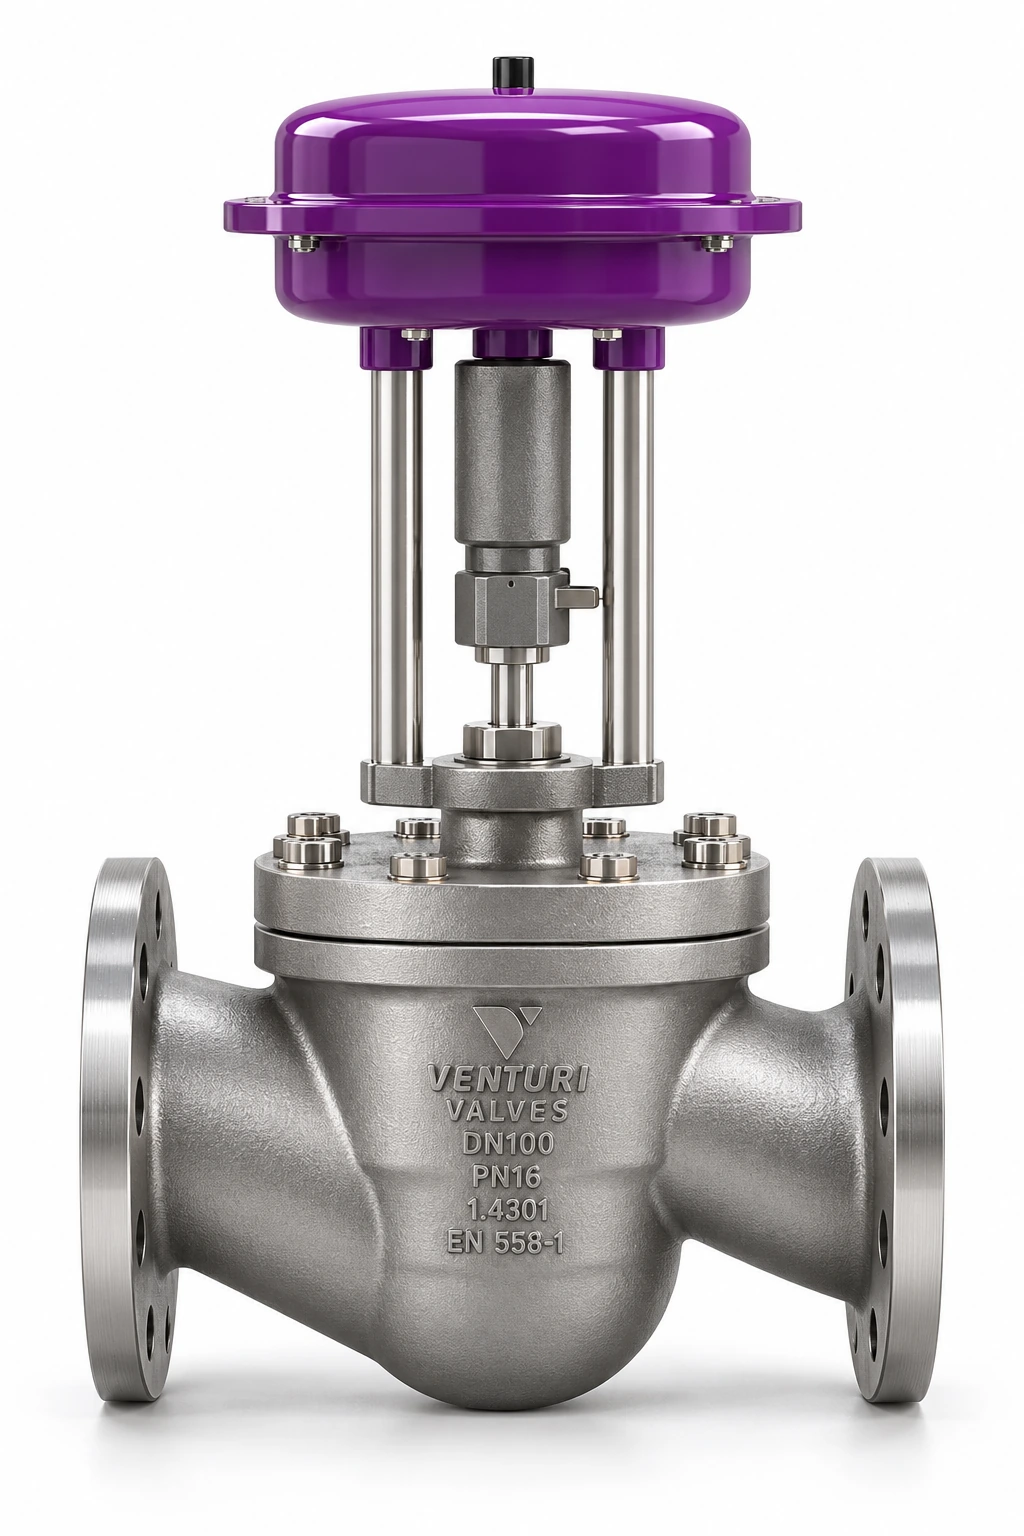
VENTURI / Technical insight
Valve installation and commissioning checklist
Quick answer
Commissioning begins by checking the correct valve, line, orientation and manufacturer’s instructions. Connection compatibility, cleanliness, actuator settings and documented function checks must be considered together.
Before installation
Match identification and order code to the datasheet. Check material, DN/NPS, PN/Class, connection standard and temperature. Inspect for storage damage, debris and end-face condition. Qualified personnel must work on an isolated, depressurised line at a safe temperature.
Connections and movement clearance
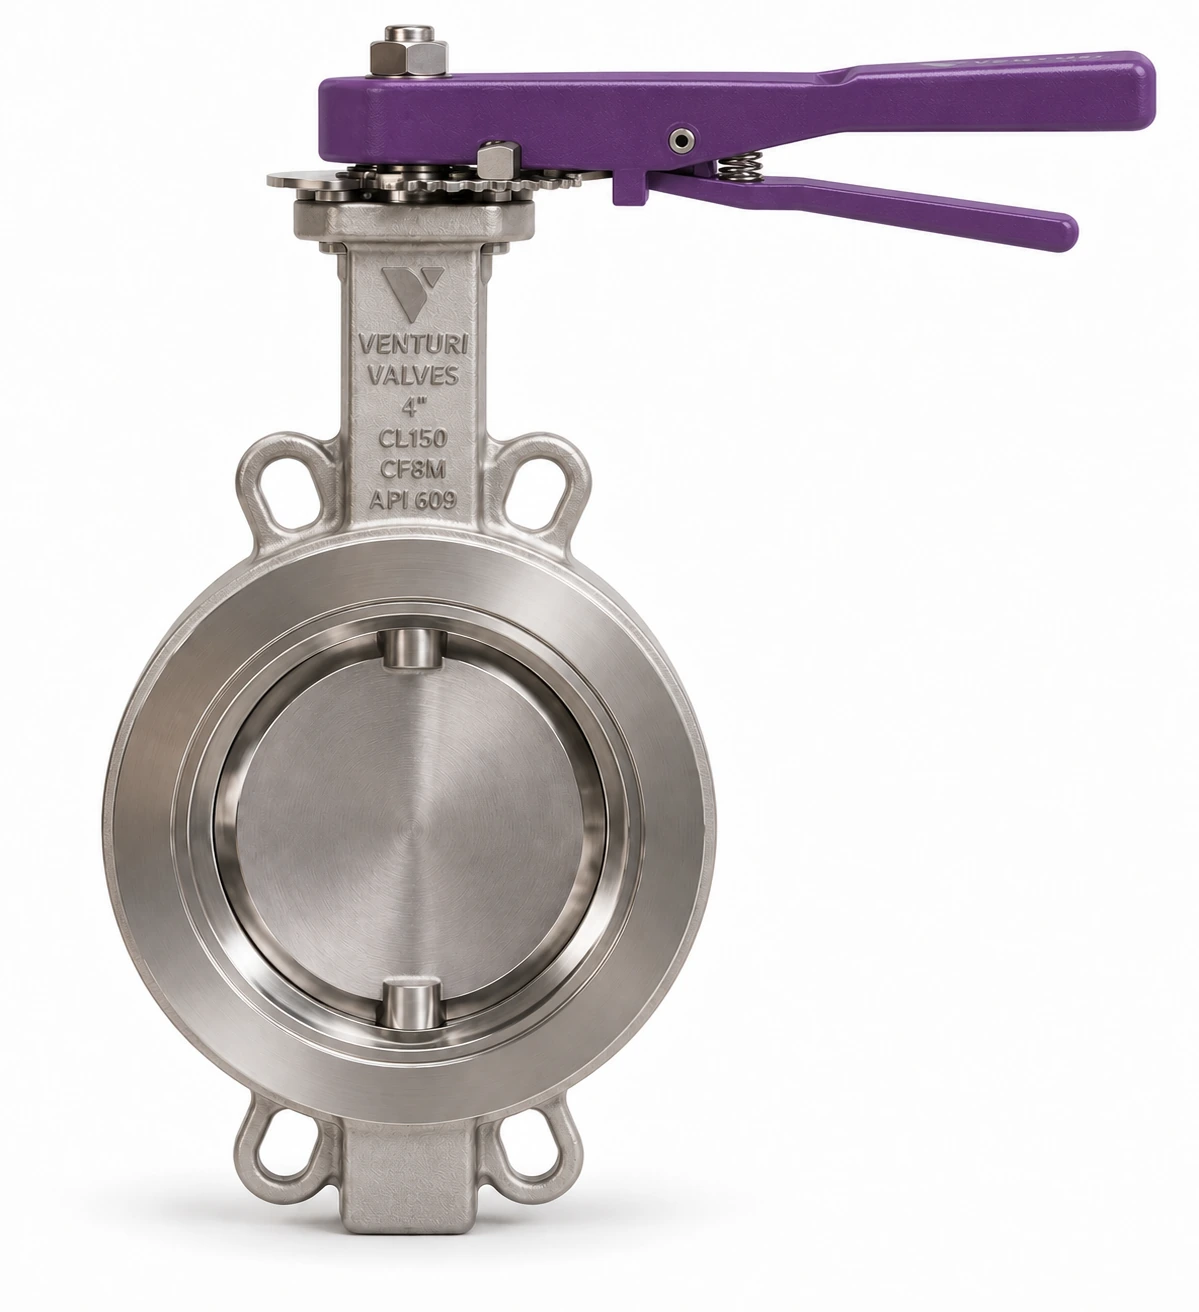
Follow the flow arrow and permitted orientation. Do not use the body to pull misaligned flanges into place. Gaskets, bolts and tightening sequence must suit the product. For butterfly valves, verify disc clearance from piping and gaskets. Use the product manual, not a generic torque value.
Commissioning and records
Perform controlled operation and function checks under manufacturer instructions. Verify actuator supply, limits, signal direction and the specified fail position. Stop and obtain qualified assessment if leakage, unusual noise or movement problems occur. Record findings against product identity and date.
Frequently asked questions
Are all valves installed in the same direction?+
No. Flow direction, seat design and actuator arrangement vary. Follow the body markings and the product manual.
Contact Venturi for selection and technical verification against your application requirements.